
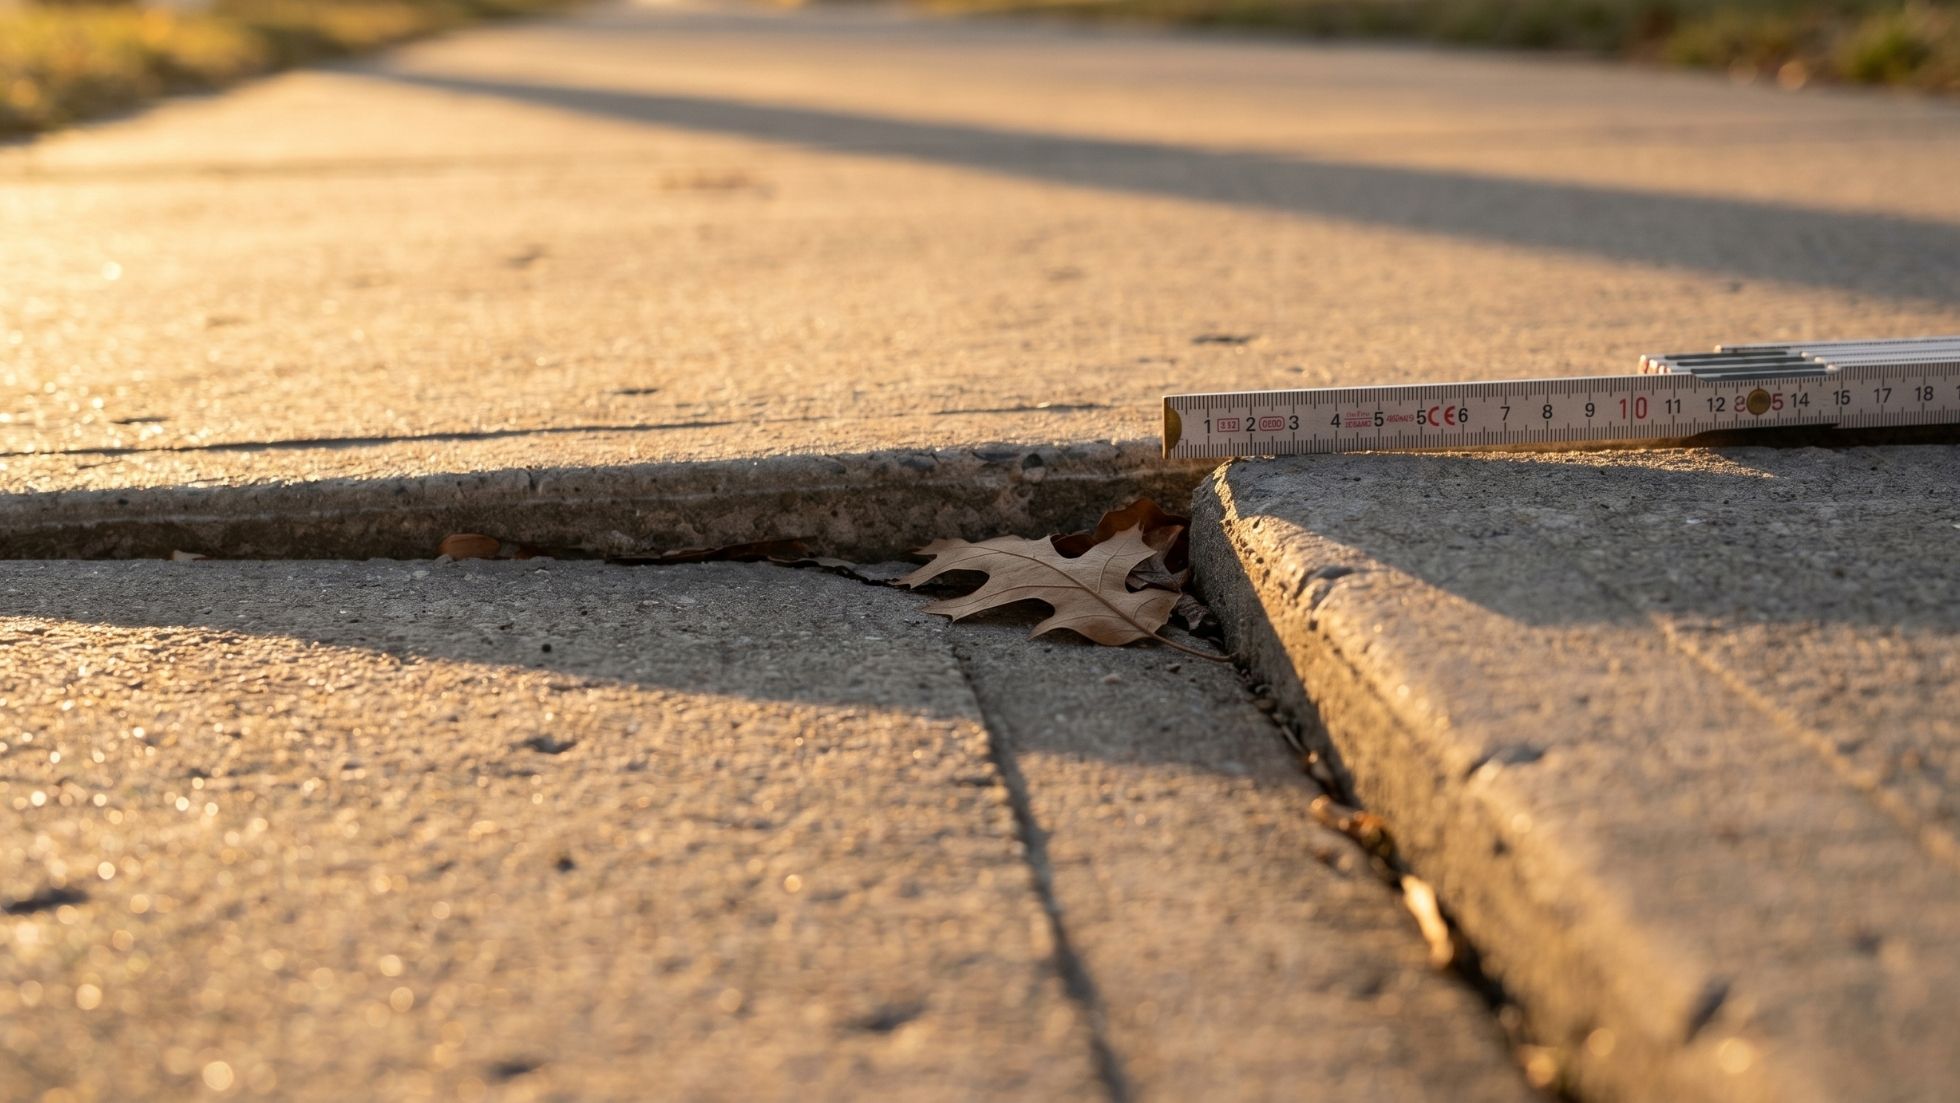
Detecting sidewalk damage early is the single most effective way to prevent trip hazards, avoid costly liability claims, and extend the life of your concrete walkways. A hairline crack today becomes a lifted, uneven slab tomorrow—one that can cause a serious fall. By understanding the subtle warning signs and acting before the damage escalates, property owners save an average of 40% on repair costs compared to emergency fixes. This guide walks you through exactly what to look for, how to assess risk, and when to call in a specialist who uses precision concrete cutting rather than outdated grinding methods.
Key Takeaways
- Early detection of sidewalk cracks, spalling, and minor shifts prevents them from developing into dangerous trip hazards.
- Tree roots, soil erosion, and freeze-thaw cycles are the three primary culprits behind uneven concrete slabs.
- A trip hazard is legally defined as any vertical change in elevation of 1/4 inch or more; ADA compliance requires a zero-point differential after repair.
- Precision horizontal concrete cutting is the only method that guarantees a smooth, ADA-compliant finish without rough surfacing.
- Regular seasonal inspections—especially before and after rainy periods—dramatically reduce long-term maintenance costs.
- Documenting damage with photos and measurements creates a critical record for insurance claims and municipal compliance.
- Professional trip hazard removal services can correct most issues in under an hour per location, minimizing disruption.
Understanding the Anatomy of a Sidewalk Hazard
Sidewalk damage follows a predictable, manageable progression when caught early. The American Society of Civil Engineers notes that over 40% of U.S. public sidewalks are in fair to poor condition, making trip hazards the leading cause of pedestrian injuries. The ADA defines a trip hazard as any vertical discontinuity over 1/4 inch, though even smaller shifts pose significant risks to the elderly or those using mobility aids.
The primary cause of these hazards is differential settlement—where adjacent concrete panels settle or heave at different rates, creating a dangerous “lip.” With soil movement responsible for about 65% of residential sidewalk damage (according to the National Association of Home Builders), understanding this underlying mechanism is crucial. Catching these shifts before they become severe liability issues is best achieved through a routine sidewalk inspection.
The 7 Early Warning Signs Every Homeowner Should Know
1. Hairline Cracks That Follow a Pattern
Not all cracks are created equal. A single, isolated hairline crack running perpendicular to the sidewalk’s length is often a shrinkage crack from initial curing and may remain stable for years. However, cracks that form a “spider web” pattern, run parallel to the slab edge, or appear in clusters indicate underlying soil movement. As Dr. Elena Marquez, a structural engineer and consultant for municipal infrastructure projects, explains: “Pattern cracking is the concrete’s way of telling you that the subgrade is failing. If you see multiple fine cracks converging, you’re looking at the early stage of a future uplift.”
2. Faint Discoloration or “Ghost Lines”
Before a slab actually lifts, you’ll often see subtle color changes—lighter or darker bands near the joints. This indicates water infiltration. When water seeps beneath the slab, it erodes the subbase material, creating voids. The discoloration is a moisture map showing exactly where the slab is losing support. Research from the Portland Cement Association confirms that water-related subbase erosion is the leading cause of trip hazards in regions with seasonal rainfall.
3. The “Rocking” Slab
Step on the edge of a slab near a joint. If you feel even the slightest movement—a rocking or wobbling sensation—the slab has already lost full contact with its base. This is a pre-hazard condition. Within one to two seasonal cycles, that rocking slab will either sink or tilt, creating a measurable lip. A simple test: pour a small amount of water near the joint. If it flows under the slab rather than pooling on top, you have a significant void.
4. Expanding Joint Gaps
Expansion joints are designed to absorb thermal movement, but when they widen beyond 1/2 inch, they become a different kind of hazard. Wide gaps can catch heels, wheelchair casters, and bicycle tires. More importantly, they signal that the slabs are drifting apart—often due to root growth or slope creep. Measure your joints seasonally. An increase of just 1/8 inch over six months warrants investigation.
5. Surface Spalling and Scaling
Spalling—the flaking or peeling of the concrete surface—is more than a cosmetic issue. It exposes the aggregate beneath, which then erodes faster, creating an uneven, pitted surface. While spalling alone may not create a vertical trip hazard, it significantly reduces slip resistance and accelerates deeper structural damage. The National Ready Mixed Concrete Association notes that spalling is often the first visible sign of freeze-thaw damage or poor initial finishing.
6. Pooling Water After Rain
If water consistently pools in certain areas of your sidewalk after a storm, the slab has already settled unevenly. Even if the depression is too gradual to be a trip hazard now, standing water accelerates freeze-thaw damage and subbase erosion. This creates a feedback loop: water pools, erodes the base, the slab settles more, and more water pools. Break the cycle early.
7. Nearby Tree Root Activity
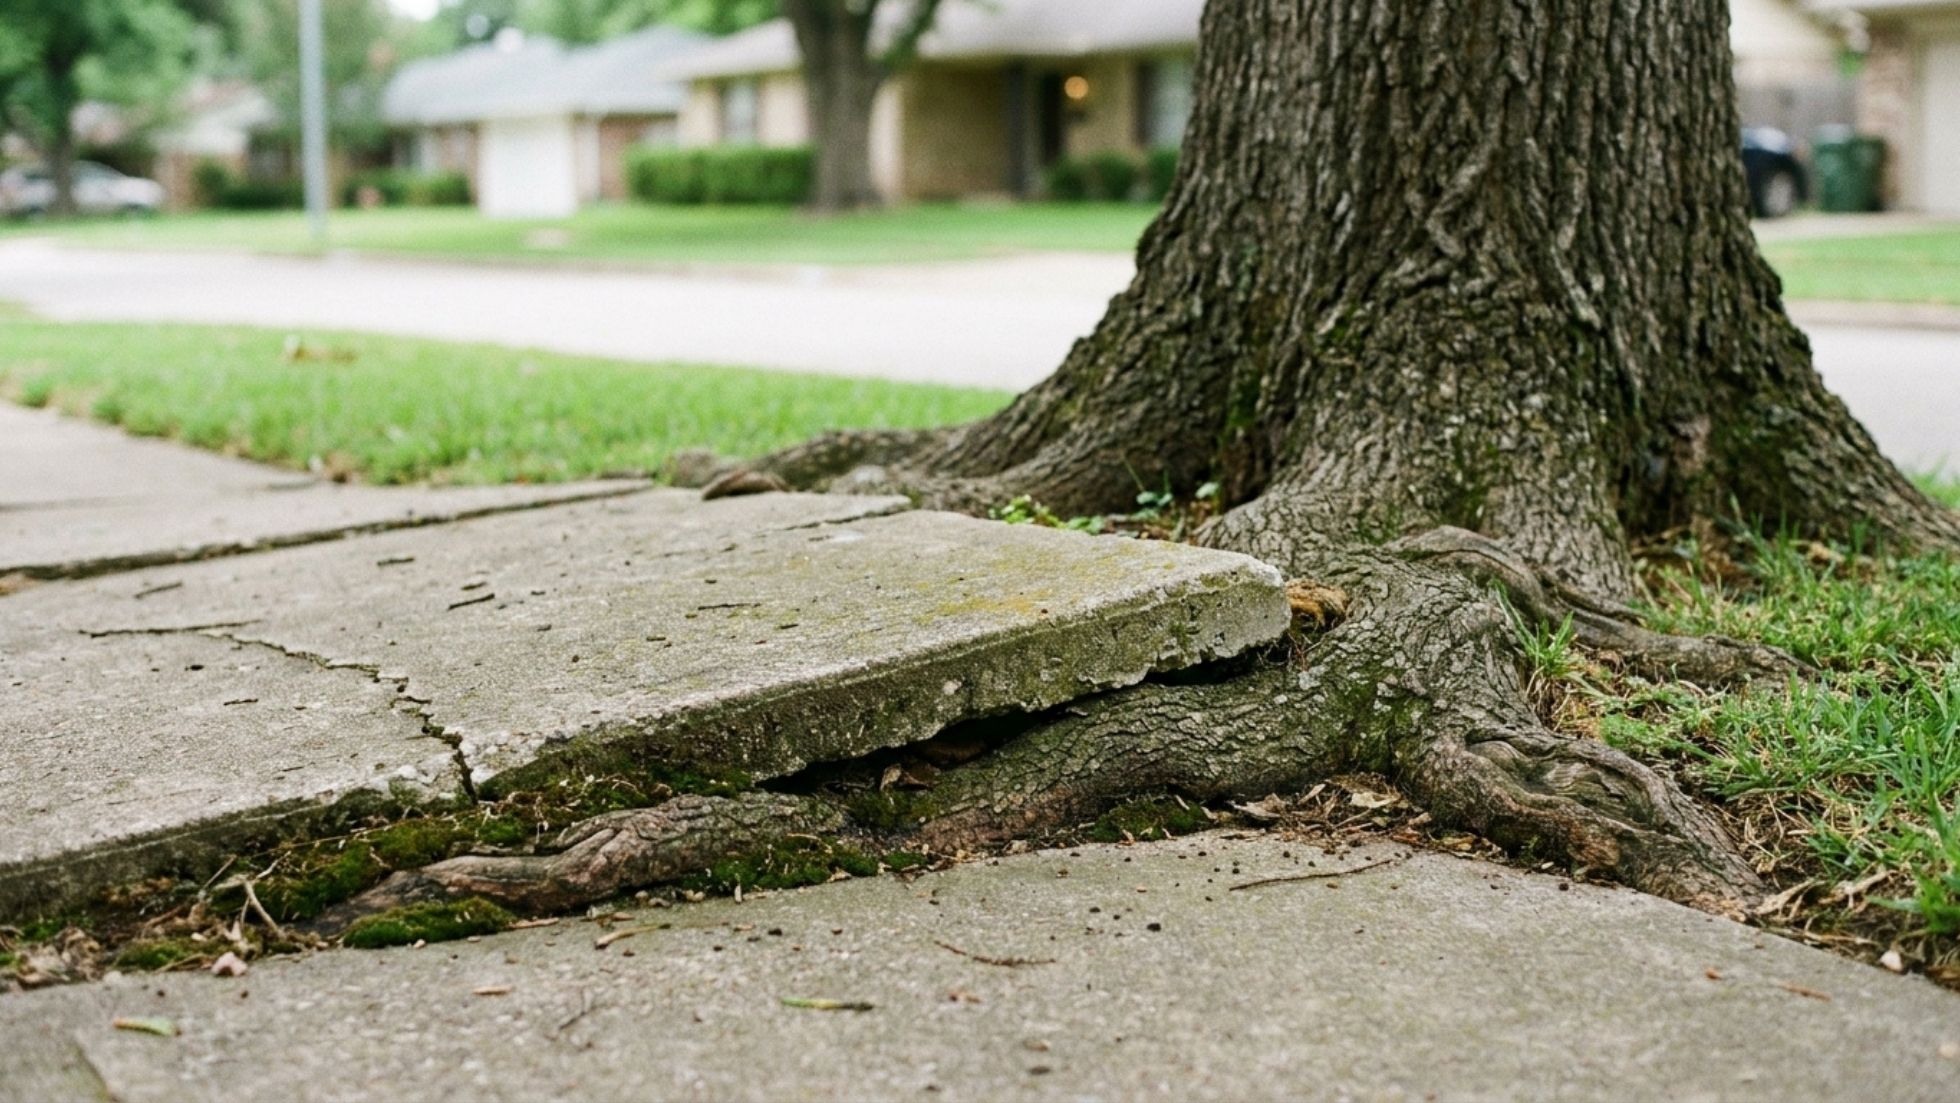
Tree roots are relentless. A mature oak or maple can exert over 100 pounds per square inch of pressure as roots expand. Look for subtle ridges or mounds forming near trees within 20 feet of your sidewalk. Often, the damage appears first at the joint closest to the tree. If you see a slight upward bulge at a joint and a corresponding crack forming a few feet away, roots are the likely culprit. The International Society of Arboriculture recommends root barrier installation as a preventive measure, but once lifting has begun, professional trip hazard removal is required.
 Why Traditional Grinding Falls Short for Trip Hazard Prevention
For decades, the default response to a lifted sidewalk edge was concrete grinding—using abrasive discs to wear down the raised lip. This approach has three critical flaws. First, grinding leaves a rough, scarred surface that is visually unappealing and reduces slip resistance. Second, and most importantly, grinding cannot achieve a true zero-point differential. The ADA mandates that after repair, there must be no vertical change greater than 1/4 inch. Grinding typically reduces a 1-inch lip to a 1/4-inch or 3/8-inch lip—still a tripping hazard, and still non-compliant. Third, grinding creates a steep, short slope that violates the ADA’s 1:12 slope requirement for ramped surfaces.
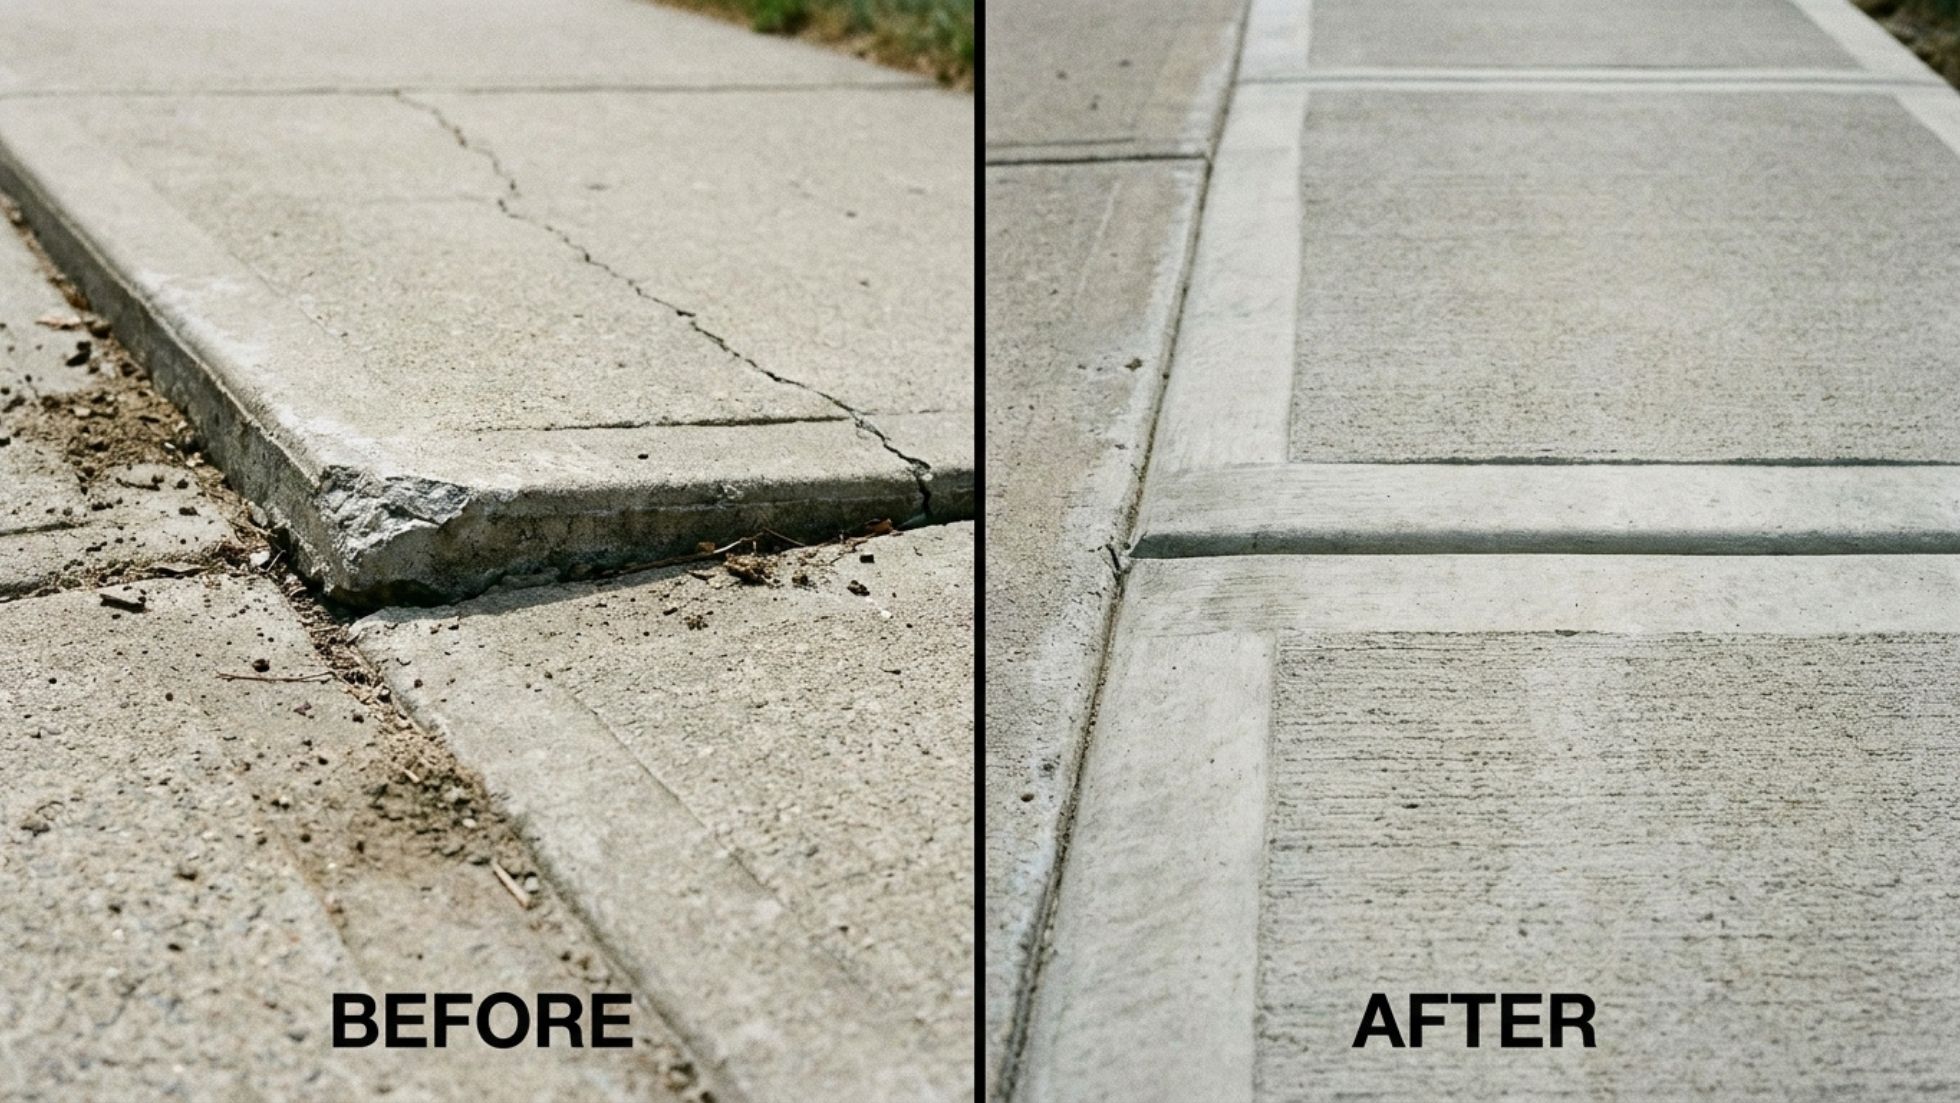
Precision concrete cutting—specifically, a patented horizontal slicing technique—solves all three problems. Instead of abrading the surface, a specialized saw cuts horizontally through the raised slab, removing a precise wedge of material. The result is a perfectly flush transition between slabs with a smooth, factory-like finish. The 1:12 slope requirement is easily met because the cut can be extended as far as necessary to create a gentle, compliant ramp. This method is the only repair technique that guarantees both ADA compliance and long-term durability without the mess and imprecision of grinding.
Step-by-Step: How to Conduct a Thorough Sidewalk Inspection
A systematic inspection takes less than 30 minutes and should be performed twice a year—once in spring after the thaw, and once in fall before the rainy season. Here is the exact process used by professional property assessors:
- Gather your tools: A 1/4-inch dowel or a dedicated trip hazard gauge, a flashlight, a measuring tape, a notebook or smartphone for photos, and a level.
- Walk the entire length slowly: Shuffle your feet slightly. Your feet will detect lips as small as 1/8 inch that your eyes might miss. Mark any spot where you feel a catch.
- Measure every marked spot: Place the 1/4-inch dowel across the joint. If the dowel rocks or a visible gap appears beneath it, you have a code-defined trip hazard. Document the exact measurement with photos from multiple angles.
- Check for horizontal displacement: A slab can shift sideways as well as vertically. Any horizontal gap wider than 1/2 inch is a hazard for wheelchair casters and should be noted.
- Inspect drainage patterns: After a rain or by running a hose, observe where water flows and pools. Mark any areas of standing water.
- Examine adjacent landscaping: Note the location and species of any trees within 20 feet. Look for roots visible at the surface or pushing against the sidewalk edge.
- Document everything: Create a simple map or spreadsheet with the location, type of damage, measurement, and a photo reference. This record is invaluable for prioritizing repairs and for insurance purposes.
Comparing Repair Methods: A Decision-Making Table
| Method | ADA Compliant? | Finish Quality | Speed | Best For |
|---|---|---|---|---|
| Precision Horizontal Cutting | Yes—zero-point differential achievable | Smooth, factory-like | 15-45 min per hazard | All lifted slabs, trip hazards up to 2 inches |
| Mudjacking / Slabjacking | Possible, but temporary | Uneven, patched holes | 1-2 hours | Sunken slabs only |
| Full Panel Replacement | Yes | New concrete | Days (curing time) | Severely deteriorated slabs (Not offered) |
| Patching / Epoxy Fill | No—for surface repair only | Clean, filled finish | 1-2 hours | Spalling, small cracks, joint sealing |
As the table illustrates, precision horizontal cutting is the superior choice for the vast majority of trip hazards. It is the only method that combines speed, ADA compliance, and a clean aesthetic without the need for demolition or curing time.
Real-World Example: A California HOA’s Proactive Approach
The Oakwood Estates Homeowners Association in Southern California manages 1.2 miles of concrete walkways throughout their community. In 2024, they faced a recurring problem: every rainy season, tree roots caused multiple slabs to lift, creating trip hazards that generated liability complaints from residents. Their previous approach—calling a general contractor for grinding—resulted in rough, unsightly patches that failed to meet ADA standards and required re-treatment annually.
In early 2026, the HOA board partnered with a trip hazard specialist using precision horizontal cutting. A comprehensive inspection identified 47 locations with measurable trip hazards. The entire remediation was completed in three days, with each hazard corrected in under 30 minutes. The smooth, beveled cuts blended seamlessly with the existing concrete. One year later, zero of the treated locations have re-developed a hazard. The HOA’s insurance provider acknowledged the proactive maintenance with a 5% premium reduction.
The Role of Seasonal Maintenance in Hazard Prevention
In regions like Southern California, the rainy season—typically November through March—is the most critical period for sidewalk integrity. Saturated soil expands and contracts, accelerating subbase erosion. According to data from the California Department of Transportation, sidewalk damage reports increase by 60% during and immediately after the rainy season.
Preparing your sidewalks before the rains arrive involves three key actions. First, ensure all expansion joints are properly sealed with a flexible, self-leveling sealant. This prevents water from penetrating beneath the slabs. Second, clear all drainage paths—clogged downspouts and landscape edging that traps water against the sidewalk are common culprits. Third, address any existing trip hazards immediately. A small lip going into the rainy season will almost certainly become a larger lip by spring.
When to Call a Professional vs. DIY Monitoring
Homeowners can and should perform their own regular inspections, but actual repair is not a DIY project. Attempting to grind down a lip with a rented floor grinder is dangerous, imprecise, and will not achieve ADA compliance. Similarly, filling cracks with consumer-grade patching compounds is a temporary cosmetic fix that does nothing to address the underlying settlement.
Professional trip hazard removal specialists bring three things a homeowner cannot replicate: specialized horizontal cutting equipment that makes clean, precise cuts; the expertise to calculate the exact angle and depth needed for a 1:12 slope; and the documentation to prove ADA compliance if a claim arises. As Michael Chen, a risk management consultant for property insurers, states: “From a liability standpoint, a professional repair with a compliance certificate is worth its weight in gold. If a fall occurs and you can demonstrate that a certified specialist performed the repair to ADA standards, your liability exposure drops dramatically.”
Understanding ADA Compliance and Legal Liability
The Americans with Disabilities Act sets clear standards for pedestrian pathways. For a sidewalk repair to be compliant, it must achieve a zero-point vertical differential at the transition point and maintain a slope no steeper than 1:12 (one inch of rise for every 12 inches of run) for any ramped section. These are not guidelines—they are enforceable federal standards. Property owners, including homeowners, can be held liable for injuries resulting from non-compliant walkways.
Precision horizontal cutting is uniquely capable of meeting both requirements. By slicing through the raised slab at a calculated angle, the technician creates a smooth, gradual transition that eliminates the lip entirely. The 1:12 slope is built into the cut geometry. No other repair method—not grinding, not patching, not mudjacking—can consistently deliver this result.
 Frequently Asked Questions
What is the legal definition of a sidewalk trip hazard?
A trip hazard is defined by the ADA as any vertical change in elevation of 1/4 inch or more along a pedestrian pathway. This standard is used by municipalities, insurance companies, and courts to determine liability in slip-and-fall cases.
How often should I inspect my sidewalk for damage?
Inspect your sidewalks at least twice a year—once in spring after the ground thaws and once in fall before the rainy season. Properties with large trees or known drainage issues should inspect quarterly.
Can I fix a trip hazard myself with a concrete grinder?
While possible, DIY grinding is not recommended. It rarely achieves ADA compliance, leaves a rough, unsightly surface, and does not address the underlying cause of the lift. Professional precision cutting is faster, cleaner, and legally defensible.
What is the difference between concrete grinding and horizontal cutting?
Grinding uses abrasive discs to wear down the raised edge, leaving a rough surface and often failing to eliminate the lip completely. Horizontal cutting uses a specialized saw to slice through the slab, removing a precise wedge and creating a smooth, flush transition that meets ADA slope requirements.
How long does a precision cutting repair last?
When performed correctly, a horizontal cutting repair is permanent for the treated slab. The cut itself will not degrade. However, if the underlying cause—such as root growth or soil erosion—continues, adjacent slabs may eventually shift. This is why addressing root barriers and drainage is part of a comprehensive prevention plan.
Does homeowners insurance cover sidewalk repairs?
Coverage varies by policy. Many homeowners policies cover sidewalk repair if the damage is caused by a covered peril, such as a fallen tree. However, gradual damage from roots or settlement is typically considered a maintenance responsibility. Check with your insurer; some offer discounts for proactive hazard mitigation.
What should I do if I find a trip hazard on a public sidewalk?
Report it to your local municipality’s public works or transportation department. Most cities have a formal process for reporting and prioritizing sidewalk hazards. Document the location and take photos. In some jurisdictions, the adjacent property owner shares responsibility for maintenance.
Conclusion
Sidewalk damage detection is not a passive activity—it is an active, ongoing responsibility for every property owner. The seven early warning signs outlined here—pattern cracking, discoloration, rocking slabs, widening joints, spalling, pooling water, and root activity—are your first line of defense against costly liability claims and expensive emergency repairs. By catching these indicators early and responding with professional, precision-based solutions rather than outdated grinding methods, you protect both your property value and the safety of everyone who walks your path.
If you have identified any of the warning signs discussed in this article, do not wait for a small lip to become a major hazard. Professional trip hazard removal using patented horizontal cutting techniques can correct the issue in a single visit, with a smooth, ADA-compliant finish that lasts. Contact our team today for a comprehensive sidewalk assessment and take the first step toward a safer, fully compliant property.
References
- Americans with Disabilities Act (ADA) Standards for Accessible Design – ADA.gov
- American Society of Civil Engineers (ASCE) Infrastructure Report Card – ASCE.org
- Portland Cement Association – Subbase and Subgrade Performance – Cement.org
- National Ready Mixed Concrete Association – Concrete in Practice – NRMCA.org
- International Society of Arboriculture – Tree Root Management – ISA-Arbor.com
- California Department of Transportation – Pedestrian Safety and Maintenance – Caltrans
- National Association of Home Builders – Residential Concrete Maintenance – NAHB.org

